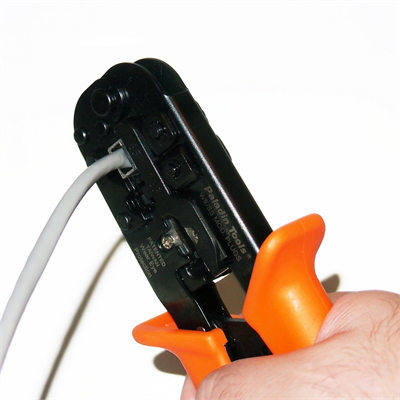
Your toolboxNetwork-wiring toolkits, which include connectors, a crimper, and a tester (among other odds and ends) are available for about $35.
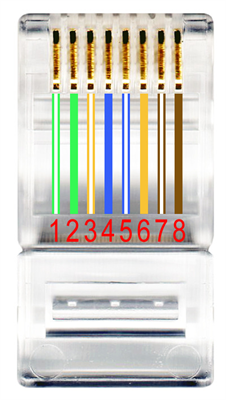
Wiring scheme AT568A wiring scheme
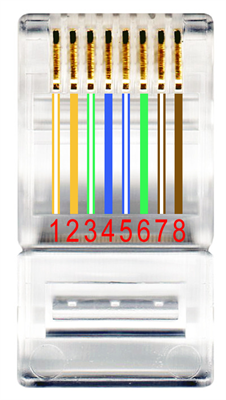
Wiring scheme BT568B wiring scheme
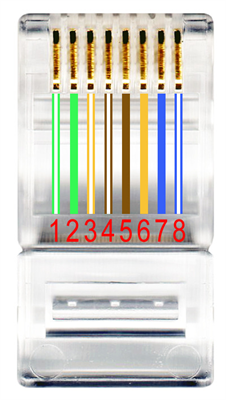
Colour schemeCrossover cable color scheme
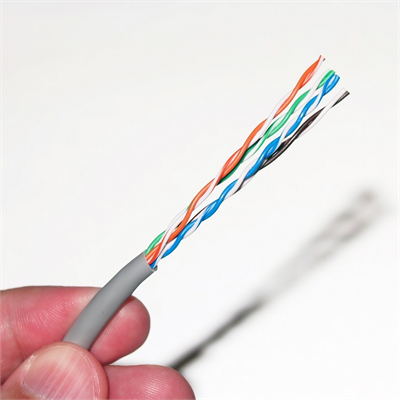
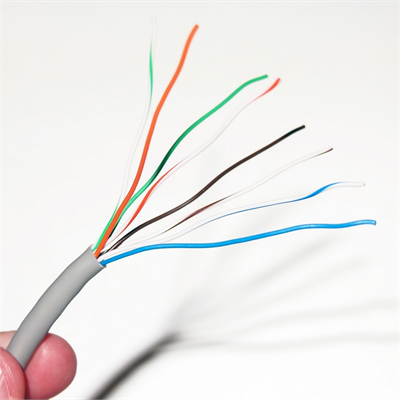
Step 1: StripTo prepare your raw cable for a connector, strip an inch or so of its sheathing, and then untwist and straighten the loose wires as best you can.
Step 2: ArrangeAfter straightening the wires, you can arrange them using the desired scheme. We used T568B in the examples here, so we arranged the wires in this order: Orange/White Orange Green/White Blue Blue/White Green Brown/White Brown
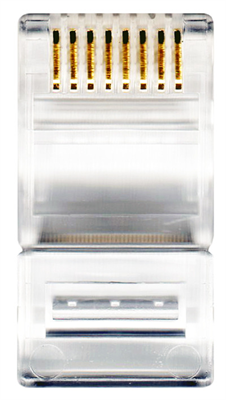
Step 3: ReferenceHere’s what an RJ45 connector looks like, for reference.
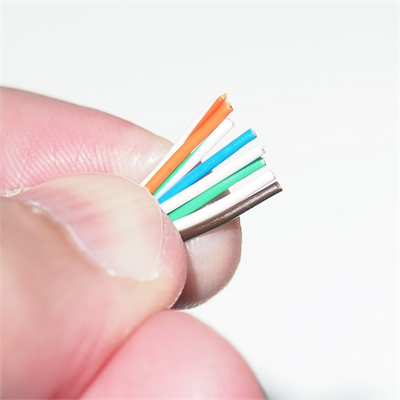
Step 4: CutArrange the loose wires in the proper order and then hold them tightly as you cut them to length. You want to have only about a half-inch of wire exposed before sliding the wires into the connector.
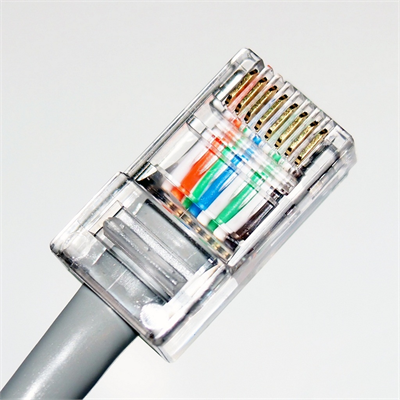
Step 5: InspectAfter you have pushed the cable all the way into the connector, perform a quick visual inspection to confirm that the wires remained in the correct order.
Step 6: CrimpOnce you’ve inserted the cable, closely inspect the wire arrangement and crimp the connector in place.
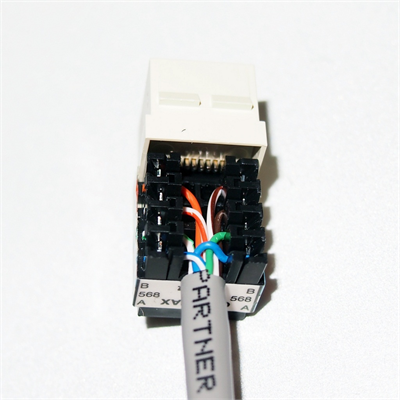
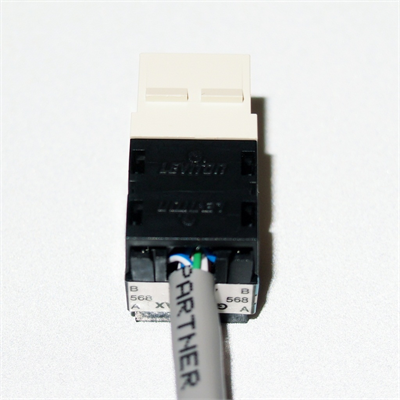
Step 7: Punch downTypically you need to wire network jacks using the same T568A or T568B arrangements. Strip the network cable, untwist and straighten the wires inside, feed the loose wires into the appropriate colored slots, and use a punch-down tool to secure the wires in place.
You’re doneYou’ve now saved some money and learned a bit more about your PC works.