

Keyboards – like any frequently used tool – get dirty over time. The natural dust build up in your work environment is bad enough, and when you sprinkle in your terrible eating habits, then a keyboard can quickly be clogged with grease and food particles. Dirt and grime can cause the keys to stick and feel unresponsive, which ultimately impede work performance.
Tools
Before getting your hands dirty, you’ll need to acquire some essentials. To clean keyboards, you’ll need:
- Compressed air/Brush
- Degreaser
- A large bowl
- Cleaning cloth
- Paper towels
- Key puller

If you need your keyboard cleaned urgently (for whatever reason) and can’t find a key puller, you can improvise using rubber bands or paper clips. The important thing is to not use your fingers! I’ll explain why later.
How to clean a mechanical keyboard
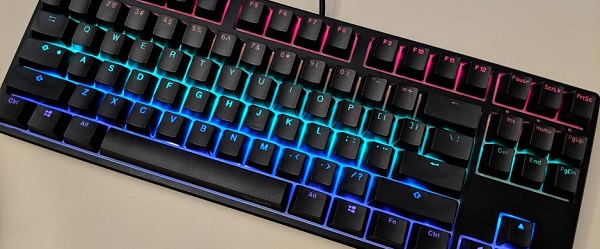
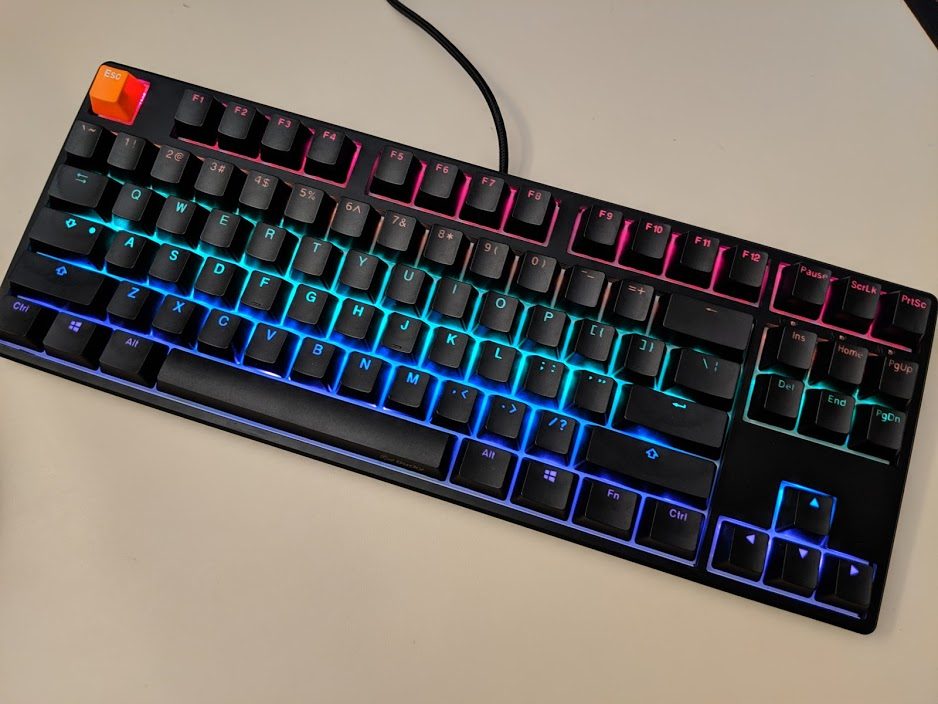
Mechanical keyboards are the easiest to clean as their keycaps and switch stems are designed for easy removal and replacement. The subject for our demonstration is my primary keyboard: the Ducky One TKL. It’s gotten pretty dusty since I last cleaned it about four months ago.

1. Slide the key puller under the keycap and gently pull up with gradually increasing force. Also, don’t pull straight up, and wiggle as you move along, this way you don’t risk pulling apart the switch housing.

2. Depending on what type of stabilizers you have, removing the larger keys could be difficult. Costar stabilizers are characterized by a metal rail that runs across the keycap, while Cherry stabilizers attach to Cherry stabilizing points on either side of the keycap. Generally, Cherry stabilizers are easier to remove and reinstall, but removing either requires moderate force to pull up.

3. Dump all the keycaps in warm soapy water. Make the water is warm and not hot. Mechanical keyboard keycaps are usually made from ABS or PBT plastic, which are thermoplastics that change shape when heated. Just let them soak while you perform the rest of the steps.

4. Once all the keys have been removed, point your compressed air canister at an angle and blast the keyboard in short bursts. If you don’t have compressed air, a soft paintbrush is an acceptable substitute.

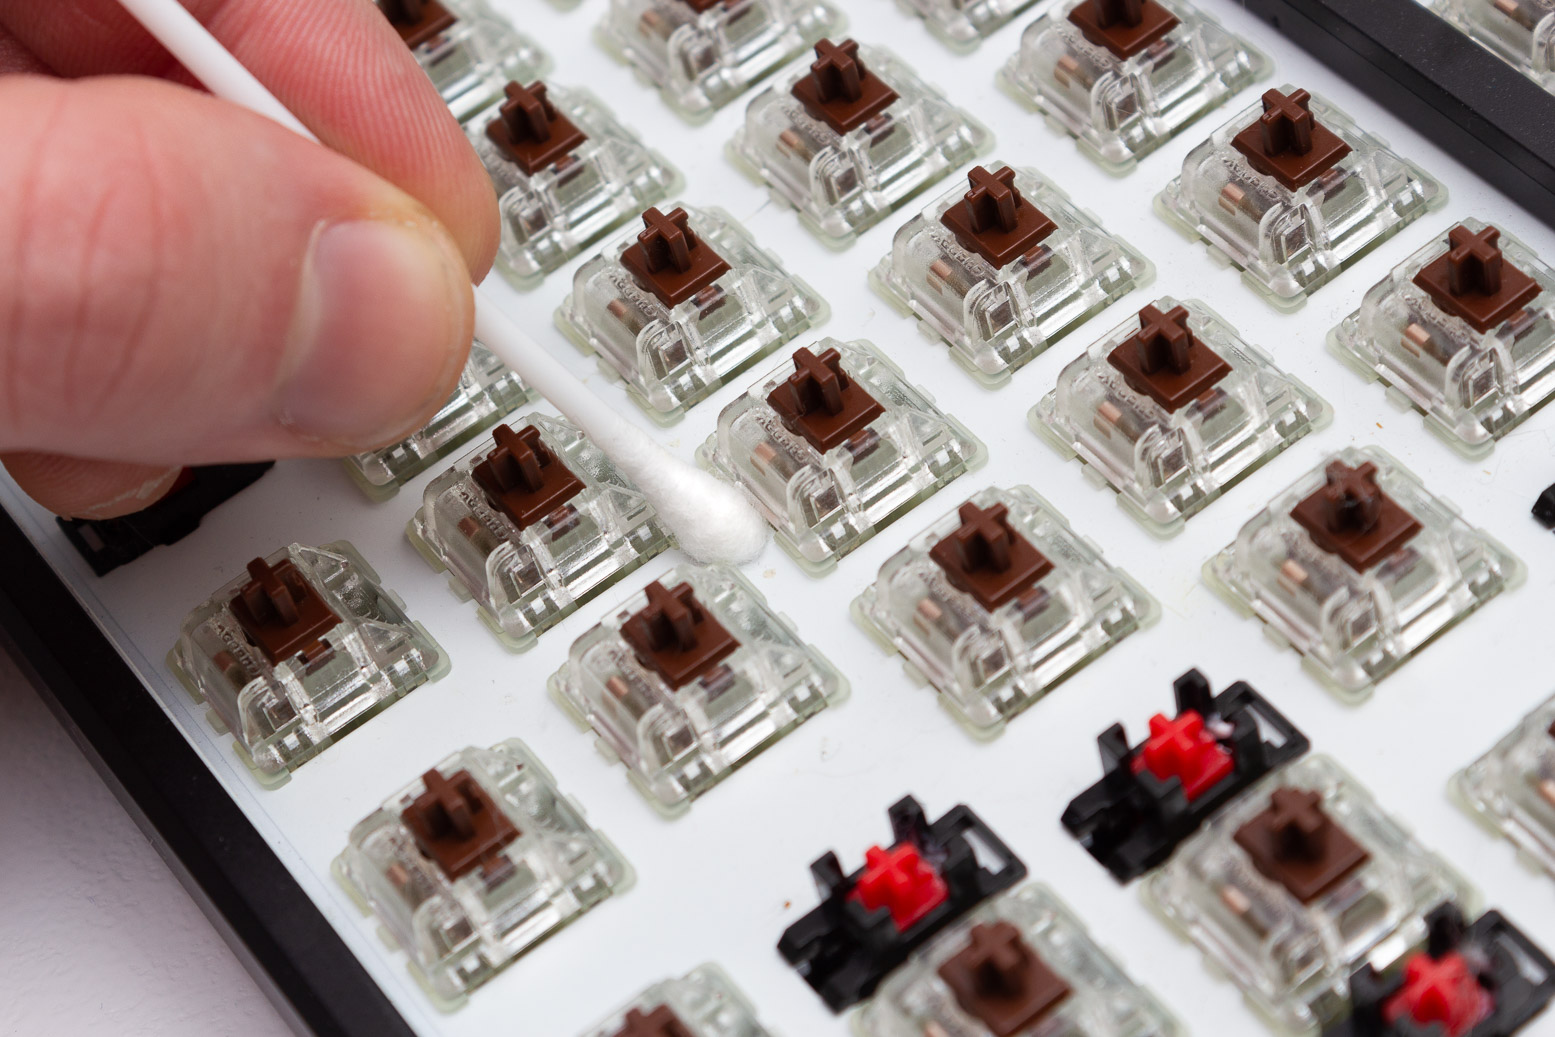
4. After dusting off the loose stuff, grab the Q-Tips, dip them in the soapy water, and scrub away any residuals. Grease and dried soda can take some effort to remove, so be patient, put on your workout playlist, and scrub away.
5. Once your keyboard looks like it’s been licked by an angel, dry it next to a fan. It’s now time to move onto the keycaps.
6. Scoop the keycaps out of the soapy water and scrub them individually using a cloth. Make sure to get all the sides and the edges. Lay them out onto a paper towel and let them dry completely when done.

7. Snap the keycaps back onto their respective keys. Unless you know a keyboard layout by heart, you’ll need to refer to a keyboard layout guide. It’s also a good idea to apply some silicone grease to the stabilizers, just check to make sure that they don’t erode plastic.

8. Seat the keys back in their rightful positions.
How to clean a membrane keyboard
Cleaning a membrane keyboard follows the same procedures with a few subtle differences.
1. Pull up the keyboard vertically with constant force, no need to wiggle.
2. Remove all the keycaps and soak them in soapy water.
3. Brush off any debris.
4. Scrub the bottom.
5. Leave them to completely dry.
6. Reassemble and enjoy responsibly.
How to clean a laptop keyboard
Generally, I recommend against prying off laptop keycaps unless it’s absolutely necessary. The reason being that laptop keyboards often use scissor switches, a switch type with delicate plastic levers that can easily snap. If one breaks whilst removing a keycap, then it could potentially be costly to replace.
But, sometimes the gunk build up is simply beyond tolerable, so follow the rest the guide at your own discretion.
1. Remove the keycaps is the most intricate process in this whole guide. Lift up the keycaps on two sides, and gently pull up until the keycap unsnaps from the plastic support. Again, remember to pull straight up slowly, don’t try to pry off the keycap from one side.
2. Do this for all the keys. Toss them into the warm water bowl.
3. If you removed them all without any mishaps, then congrats! Breathe a sigh of relief and clean the thing using compressed air, brushes, and damp cotton swabs.
4. Scrub the keys, wait for them to dry, and snap them back onto their original positions. Voila! You’re done.
Conclusion
Some best hygiene practices. You’d be surprised at how much food particles fall between the gaps even if you’re the most prudent eater. Also, wash your hands before working, and give your keycaps a quick wipe every week.